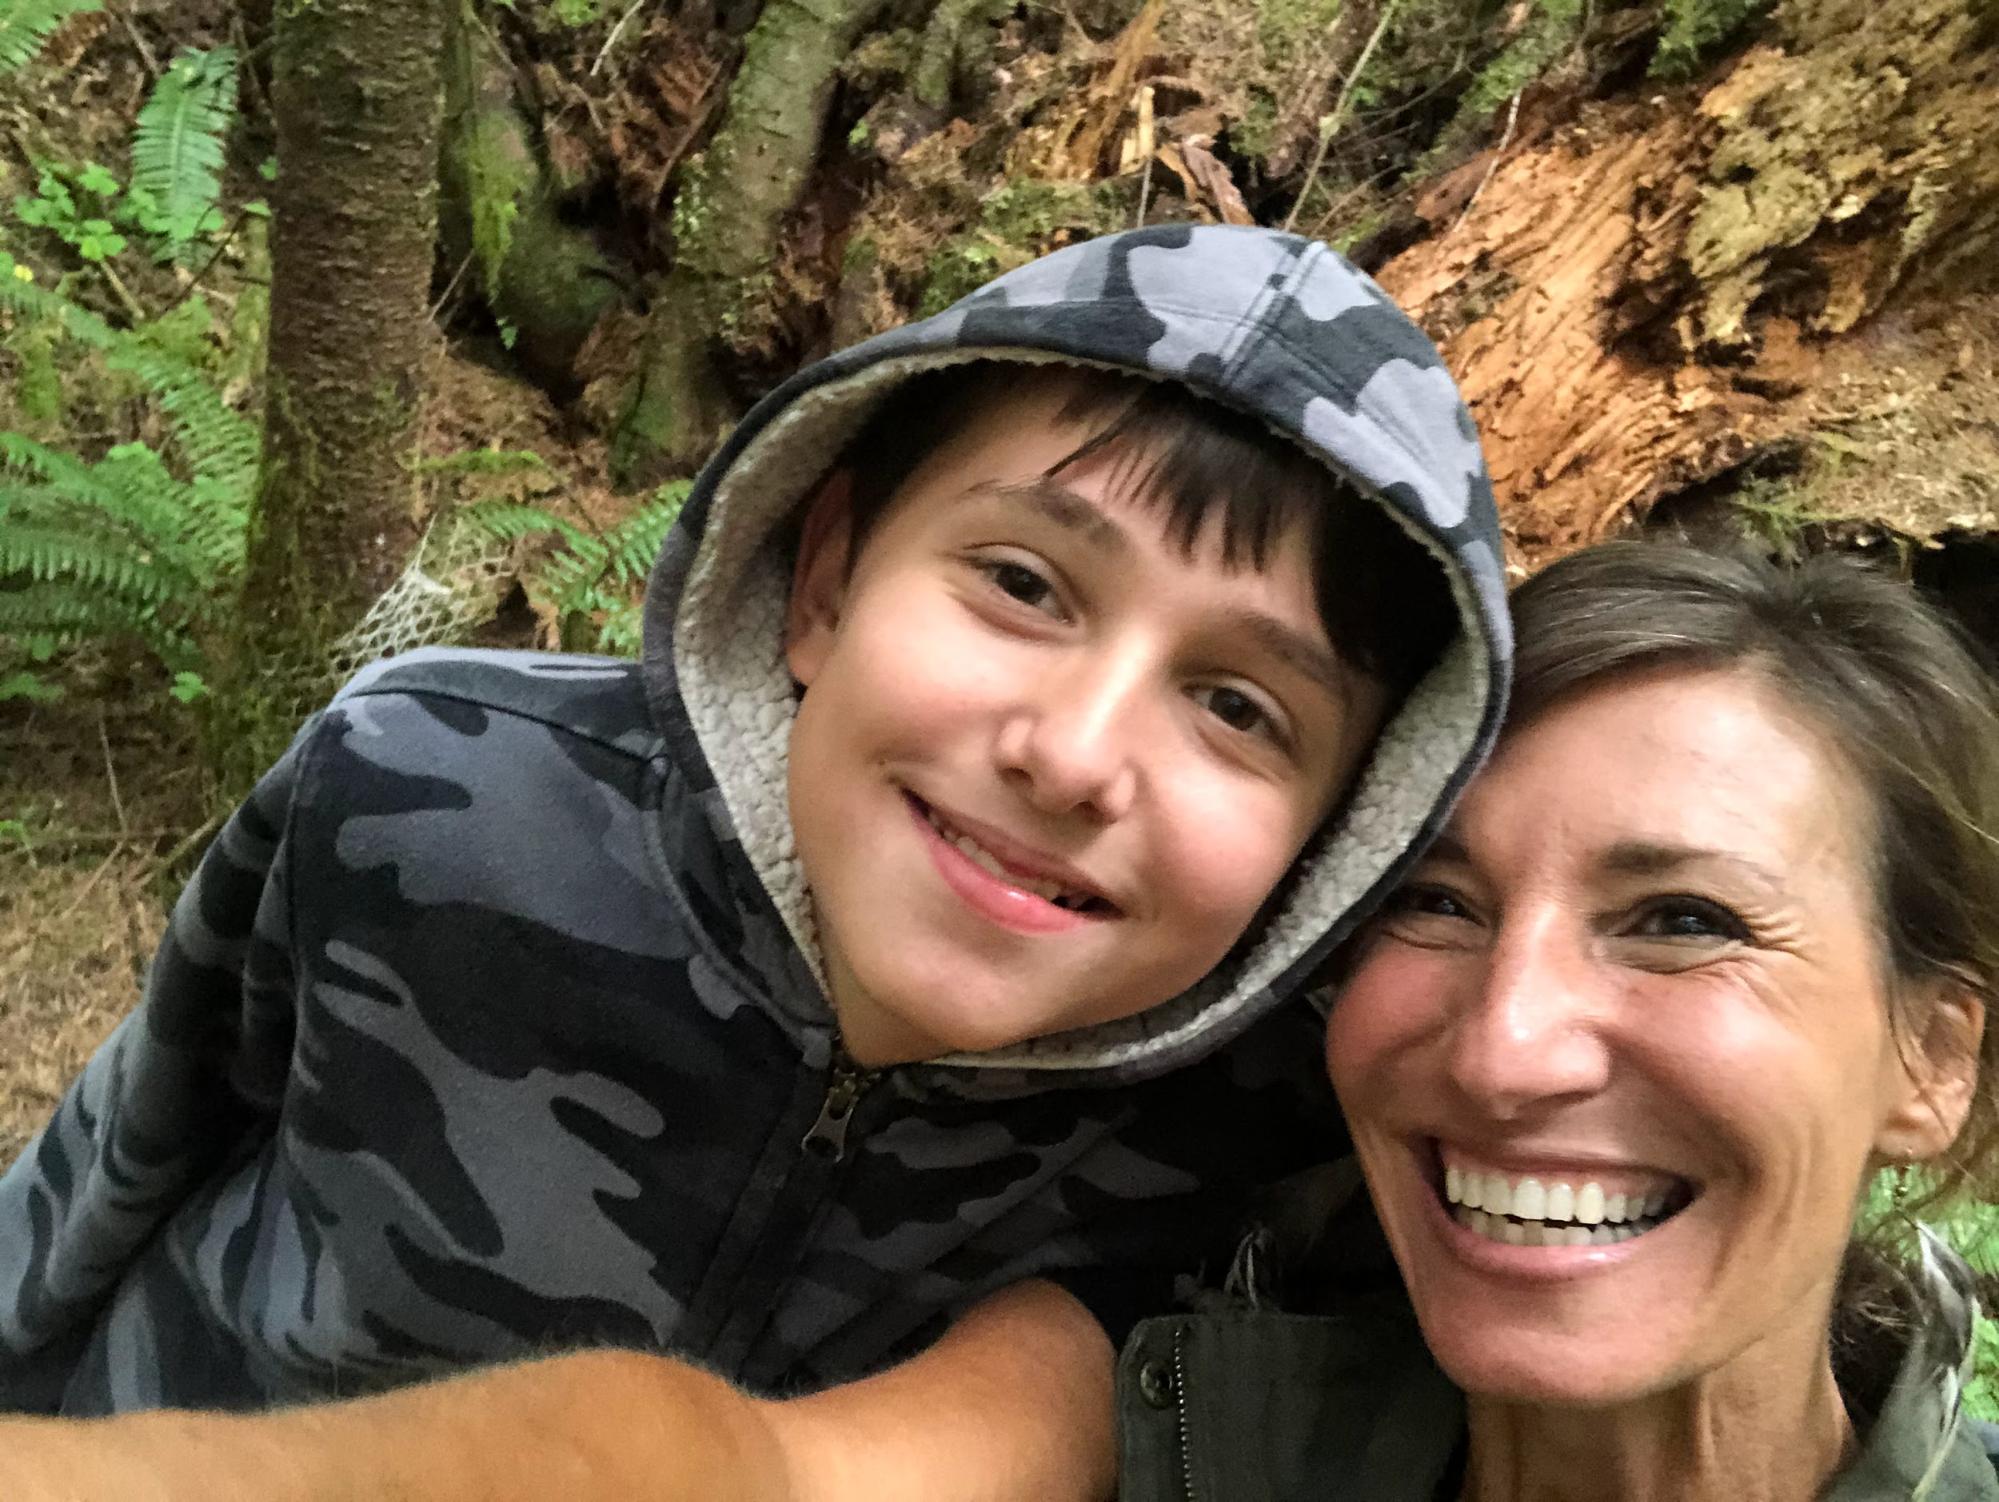
With summer in full swing, one of my favorite family activities is deepening our outdoor survival skills. Whether it’s crafting in the wild, building shelters, practicing setting traps for small game, or foraging, there is always something to spark interest for my family when we are out and about in nature. Teaching them these vital skills is something I have taken to heart over the years not only for safety and preparedness, but also because it is an enjoyable family activity. Much of this knowledge has been lost for many people in our modern age, so there is no better time than now to rediscover it and pass it down to your children and grandchildren. Let’s get started!
Building a Shelter in the Wild
My kids know how to build both a simple debris shelter that will protect them against the elements for about a week and a long-term shelter for extended stays in the wild. Both have their specific functional uses and criteria for construction. Below we will cover how to build a temporary shelter, which is an excellent skill to master if you spend any time in the wilderness. It is also a fun project for kids during camping trips.

Debris Shelter
As the name suggests, this short-term shelter utilizes what is readily available around you. It is a beginner bushcraft skill that is extremely helpful if you find yourself lost or contending with an unexpected weather event while hiking or hunting in the wild. Here are the key elements for constructing the shelter.
Location: Find a spot with good drainage and enough raw material to make a roof and add insulation, such as fallen branches and leaves. Do not build by sources of running water or cold sinks (areas that hold cold air). If weather is a concern, find an area near coniferous trees (such as pine or spruce) to block the wind. Be aware not to build your shelter under or near dead trees or those with branches that may fall in a windstorm.
Tools: While it isn’t necessary to have tools on hand, they will make construction much easier. A saw, hatchet or axe, sharp knife, paracord, and tarp are all exceedingly helpful.
Size: You don’t want your shelter to be too large as this will make it difficult to retain heat. It should be just large enough to fit you and the insulation so that your body heat will be enough to keep the space warm throughout the night. Make sure to fill in any gaps with insulation (leaves and boughs work well) to avoid drafts.


Building the shelter: Begin by finding a sturdy ridgepole for the backbone of your shelter. Either cut a dead tree or find one that has fallen. Aim for around 10-feet long and avoid fallen trees that have been in contact with the ground for too long as the wood will be weak. Check your ridgepole carefully for signs of rot.
Next, find two trees or sturdy branches with a “Y” shape to cradle the ridgepole. Push the branches into the ground so they are interlocked at the top with the “Y” fork. Using a knife to sharpen the other end will make it easier to drive it into the ground like a stake. You will now rest one end of the ridgepole between the “Y” and the other end will angle down to the ground. The triangular support frame is now complete, ready for the insulation. It is important to pile insulation onto the floor of your shelter now as it will be difficult to do once the support walls are up. Aim for around one meter (3 feet) of debris inside your shelter, such as leaves or green boughs from trees. Always remember to harvest responsibly.

Now it is time to add your support walls. You will need both shorter and longer sticks that are as straight as possible. Work from the entrance backwards and lay the sticks along the ridgepole to form “walls” on either side of the shelter. Next add your first layer of insulation, such as boughs from fallen spruce and pine. In a pinch, you can cut the lower boughs from trees but do not strip the tree completely. If you don’t have boughs readily available, use grasses, leaves, or additional sticks. For your second layer of insulation, you want an abundance of leaves — an arm’s length of thickness on your shelter. If wind is a concern, alternate with a layer of leaves, then a layer sticks to add stability. Go inside your shelter and check for light leaking to see if more insulation is needed. A tarp comes in handy for not only collecting the leaves, but also for placing on top of the structure to protect it against rain and the elements. Make sure to secure it to the ground with rocks or paracord looped through the grommets in the tarp and tied to a nearby tree or log.
A door, while not absolutely essential, will help to keep heat from escaping. If you have a backpack, this may be placed in the opening. Otherwise, pile up debris.

Collecting Water
One of many fun projects for kids out in the wild (or even in your backyard) is creating a solar still. Not only will this provide a valuable water source, but it purifies it as well. It’s also an important skill to have for children and adults alike.
DIY Solar Still
For this project, you will need a shovel or stick, a container to hold the water, and a plastic sheet to cover the hole that will be dug.
To begin, dig a hole 1-2 feet (30-60 cm) deep. Place some fresh grass, moss, or wet leaves at the bottom. If everything is dried out, you can wet it with a small amount of non-potable water. Place your container in the center of the hole. It can be as simple as a tall plastic cup, a backpacking cooking pot, or anything else you have available that is clean and can hold liquid without leaking.
Next, cover the entire hole with the plastic sheeting and place a rock in the center over the collection container. Leave it alone for the day and check once the temperature has dropped.
Water will begin to collect in the container through the process of evaporation. As the sun shines on the plastic, it will begin to raise the temperature of the hole. The moisture inside will start to evaporate and become trapped by the tarp or plastic sheeting. As it cools down, the condensation drips into the container. Because only the water evaporates, it creates a clean, contaminant-free source of water.

Interested in Deepening Your Family’s Wilderness Survival Skill Set? This Resource is For You!
If you would like to teach your family more about wilderness survival, there is no better resource than my Wilderness Long-Term Survival Guide. It is the perfect companion for your next family camping trip and will engage your kids in the natural world while also teaching them important skills. Or you can practice with your kids during your next day hike or even in your own backyard. It is never too early to encourage these skills!
The guide is organized into eight sections, including:
Location
- The Best Places to Live in the Wild
- The Survival Foraging Map
Shelters for Living in the Wild
- Choosing the Best Location for Your Shelter
- One-Week Shelter
- How to Build a One-Month Shelter
- Long-Term Shelter for Living in the Wild
Water and Fire
- How to Collect Rainwater in the Wild
- How to Purify Water in the Wild
- Starting a Fire 101— Even in the Rain
- Advanced Fire Techniques
- Firewood Safety
Food
- How to and Where to Set Up Traps for Small Game
- Edible Plants, Mushrooms, and Poisonous Look-Alikes
- Fishing Techniques
- How to Tap Trees
- How to Preserve Food in the Wild
- Tending the Land: How to Cultivate the Land and Food
Wilderness Basic First Aid
- Medicinal Plants, Mushrooms, and Lichens You Can Find in the Wild
- Bites and Stings
- Bleeding and Breakage
- Pain Management
- Infections
- Digestive Upsets
- Taking Care of Your Feet
- Hypothermia
Crafting in the Wild
- Knots That Are Extremely Useful in the Wild
- How to Craft Tools and Weapons in the Wild
- Wilderness Pottery and Containers
- How to Build a Stone Oven in the Wild
- How to Build a Smokehouse
- How to Create Cords and Strings from Plants
Safety
- How to Protect Yourself from Bears, Cougars, and Other Wild Animals
- How to Become Invisible in the Wild
- How to Track and Use Bird Language in the Wild
Personal Hygiene
- Crafting Wild Soap, Toothpaste, and Other Items
- Keeping Your Body and Clothes Clean in the Wild
- Feminine Hygiene Tips in the Wild
- Latrine and Hygiene
- Keeping Your Feet Healthy

Nicole Apelian